
ASSIGNMENT - plan and sketch a potential final project
MY WEBSITE {BLOG}
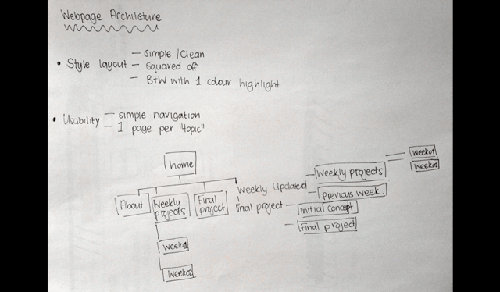
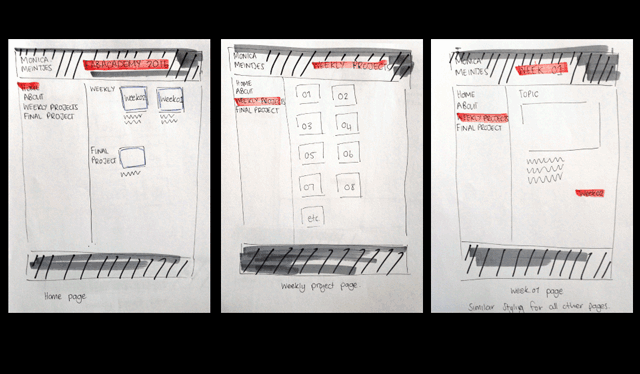
I started with the architecture and concept images for the webpage
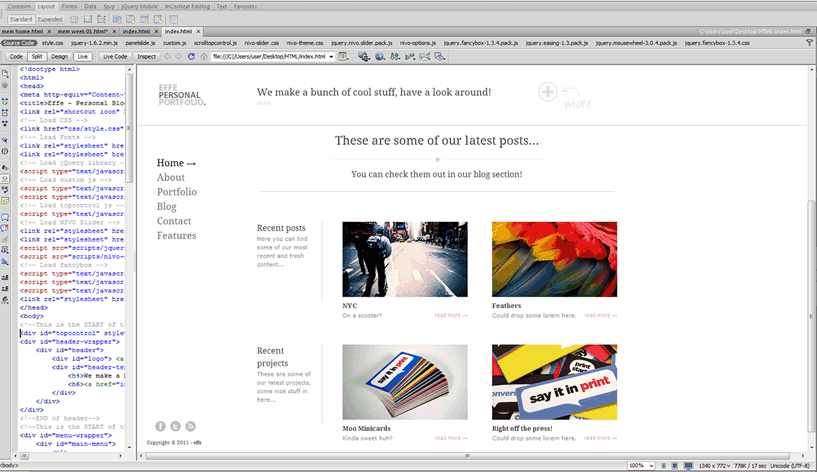
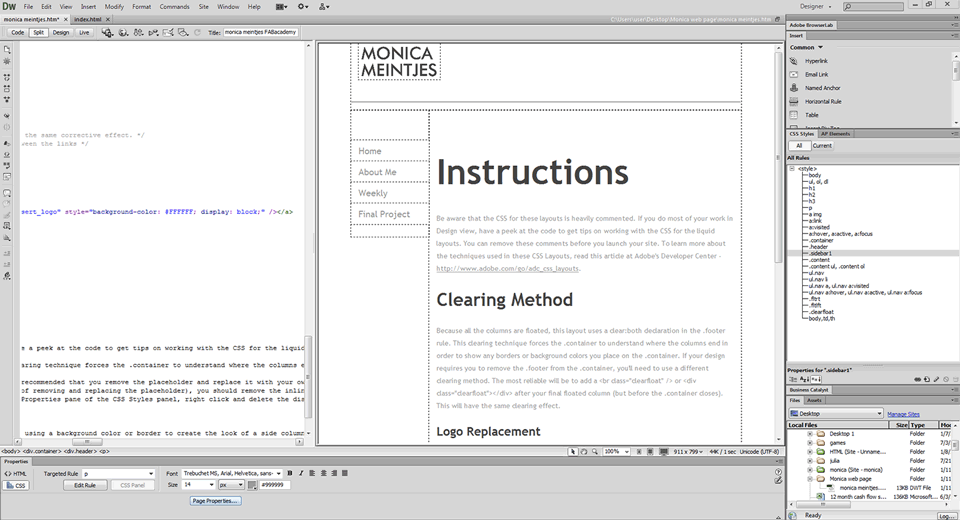
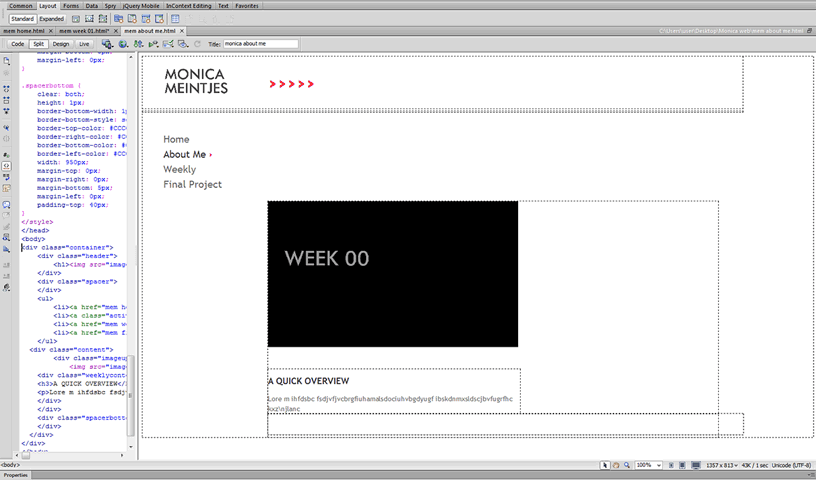
I then looked for a similar style template from which I could work, but found that the coding was too complex and the idea of trying to understand what was going on, rather than building my own with my own coding, became overwhelming. So I started over with a basic HTML template in dreamweaver, but still found that I wasn't understanding the basics and that I couldn't get certain elements to work.
So I started from scratch on a blank file and built it up myself. Using W3school as a guide, reading up on the structures and coding as I went.
I ran into a few problems, such as; making more space around the edges of the site, aligning information with % rather than pixels and the the floating left/right command not holding in the containers but eventually learnt that you need to clear the command within the containers following. The W3school tools, where you can see the code, fiddle around with it, and immediately see the change really helped me figure out where I was going wrong and how to make small but essential changes to my code.
I wrote down a lot of coding syntax and information from the web, which I found helped to reference as I went, even with changing colour of elements: <font color:#F063><b>text here</b></font>
Here are some of the things I learnt and some of my code:
#___ = id (id is specific to an element)
.___ = class (class can be applied to many elements)
<br /> = enter
<div>___</div> = container, to which you have to add and id or class to specify what happens in the container.
Setting constraints for the page is essential
.container { width: 1200px; margin: 0px; line-height: normal; }
to hold all the other containers within a space
.header { width: 1200px; padding: 0px; clear: left; }
.content { width: 900px; margin-left: 251px; }
Here I used a % width, it indicates that the container will use a percentage of its' inherited value (the container it is in).
.weeklycontent { width: 55%; margin-left: 0px; margin-top: 40px; }
.updates { width: 18%; padding-top: 0px; padding-right: 20px; padding-bottom: 0px; padding-left: 0px; border-right-width: 1px; border-right-style: solid; border-right-color: #CCC; margin-top: 60px; float: left; }
a is an anchor, it refers to a link marker for other webpages or images.
a { font-family: "Trebuchet MS", Arial, Helvetica, sans-serif; color: #666; font-size: 20px; line-height: 30px; font-weight: normal; text-decoration: none; }
a:hover and a:active refer to mouse over and an active link respectively, these visually indicate where there is a clickable link.
a:hover { color: #F33; font-weight: bold; }
a.active { color: #333; }
Headings, Subheadings and paragraphs. Use CSS to easily differentiate between headings and subheadings whilst setting your fonts, font sizes and font colours.
h1 { font-family: "Trebuchet MS", Arial, Helvetica, sans-serif; font-size: 52px; color: #454544; }
h2 { font-family: "Trebuchet MS", Arial, Helvetica, sans-serif; font-size: 27px; color: #454544; }
h3 { font-family: "Trebuchet MS", Arial, Helvetica, sans-serif; font-size: 18px; text-align: left; color: #333; line-height: 20px; }
h4 { font-family: "Trebuchet MS", Arial, Helvetica, sans-serif; font-size: 16px; text-align: justify; color: #666; line-height: 10px; }
p { line-height: 20px; font-size: 14px; margin-top: 0px; margin-right: 0px; margin-bottom: 0px; margin-left: 0px; color: #666; font-family: "Trebuchet MS", Arial, Helvetica, sans-serif; }
float: allows elements to float next to each other rather than be stacked. right/left specifies on which side it will float
.floatleft { float: left; margin: 0px 75px 0px 40px; }
Always remember to clear any float after the floating elements.
.clearfloat { clear: both; }
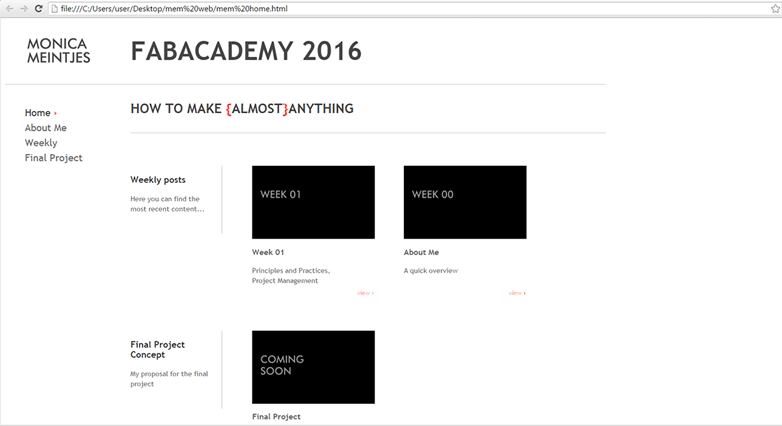
After I had the basic page layouts for all my pages I started playing with colour changes, for my pop of colour on the page, here too I played around a bit until I was happy with the look of the page.
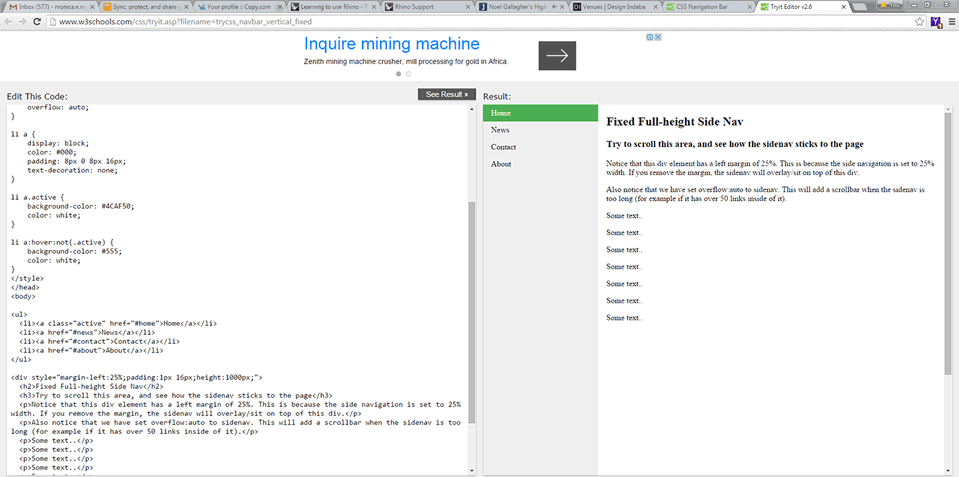
I then realised that my pages were getting long and that I should make the side navigation bar fixed on the page and always visible when scrolling down. Again I found code in W3school which I played with until satisfied.
Herewith my navigation code:
<ul class="navbar">
<li><a href="mem index.html">Home</a></li>
<li><a href="mem about me.html">About Me</a></li>
<li><a class="active" href="mem weekly.html">Back To Weekly <font color="#F33"><b>›</b></font></a></li>
<li><a href="mem final project.html">Final Project</a></li>
</ul>
.navbar { width: 200px; float: left; }
ul { height: 100%; width: 25%; position: fixed; padding-top: 20px; }
li {
font-family: "Trebuchet MS", Arial, Helvetica, sans-serif;
color: #666;
text-decoration: none;
list-style-image: none;
list-style-type: none;
}
a {
font-family: "Trebuchet MS", Arial, Helvetica, sans-serif;
color: #666;
font-size: 20px;
line-height: 30px;
font-weight: normal;
text-decoration: none;
}
li a {
color: #666;
text-decoration: none;
}

Once all this was done and my instances worked I started linking the images, pages and buttons.
Here an example of my linked image code:
<div class="infoweekly"> <a href="images/web design pics/vertical-navigation-bar.png" target="_blank"><img src="images/web design pics/vertical-navigation-bar.png" alt="Week 01" width="500" height="248"/></a>
UPDATES {THE NEW STUFF}
So we thought we had it all done and ready to go, but then the GIT element was added....
Niel was right, you cannot learn by playing, I had to read a lot of content, do and watch many tutorials, this link was probably the most useful of all, it just helps you understand the realm in which GIT functions.
There were many hits and misses as GIT tried to get me to listen.
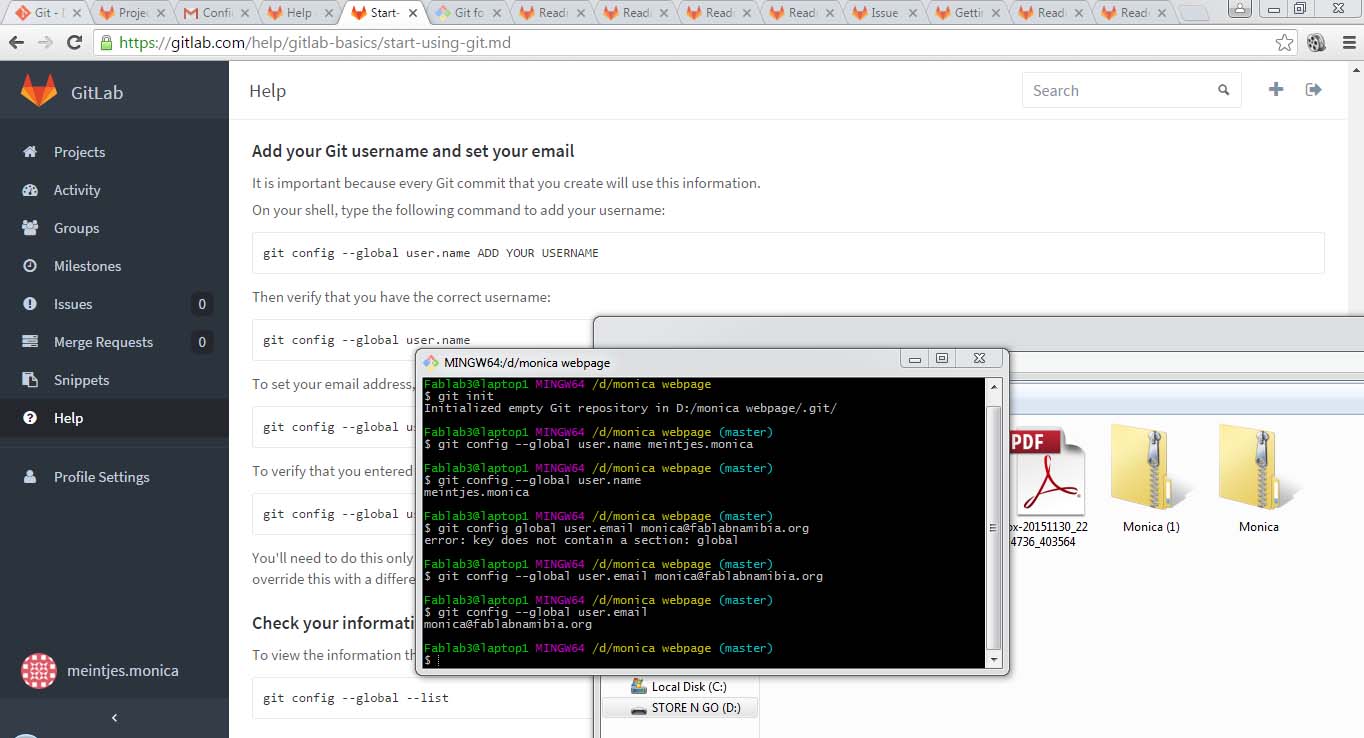
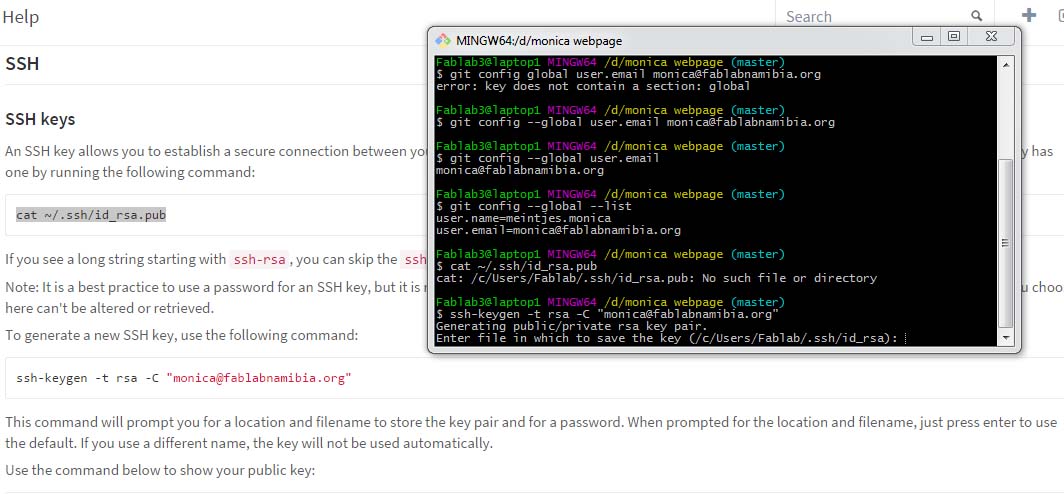
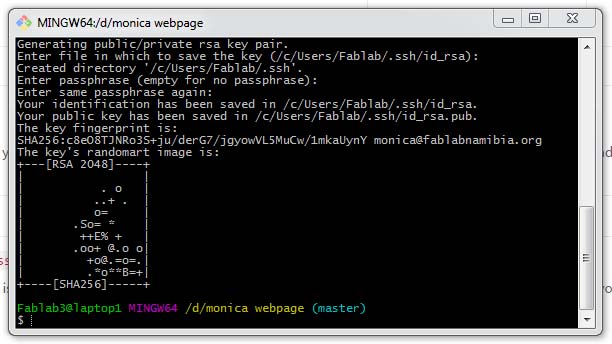
I went step by step as illustrated in the images, that is why I haven't typed much here, it's all in the images.
Things learnt, when cloning from the GITlab repository do not forget to add .git at the end
(git@git.fabacademy.org:fabacademy2016/yourfablabname/.git) it took a while to figure that out.
After that of course the pushing and pulling struggle began.

We did however struggle with filenames and filing structures on GitLab, but after some trouble shooting (see below) we managed to get our pages online!
Everything was set up and we loaded our first files by pushing to the origin repository on GITlab. At first only the FABlab NAmibia link worked, not the main links to our personal sites and not the links inside the FABlab NAmibia page. We struggled with this for a while and we tried multiple variations and strategies. The outcome was that we had not saved our files under our student numbers, but rather our names. Once we changed that the links on the student page automatically worked. But we still had a problem with our links in the FABlab NAmibia page. It was only once we realised that our links needed to have the archive in the link URl
(http://archive.fabacademy.org/archives/2016/fablabnamibia/students/248/")
that it worked. We did this by reverse engineering. We looked at the link URLs of other students whose pages were working and realised that this is what the URL link should be.
UPDATES {TUTORIALS}
I spent some time relooking and redoing the GIT process and think I have cracked it.
Here are my GIT set up INSTRUCTION/TUTORIAL files